Method
Prepare the pan and oven
Heat the oven to 175°C (350°F) with a rack in the center. Line a 20 x 20 cm (8 x 8 in) square metal pan (for 8 servings) with parchment, leaving two opposite sides long enough to lift the slab later. Press the paper into the corners so the batter can form an even layer. For scaled batches, choose a pan that keeps roughly the same batter depth rather than scaling the dimensions linearly.
Mix the raspberry cheesecake filling
If 170 g of full-fat cream cheese is firm, soften it in 5-second microwave bursts at low power just until pliable, never melted. Beat it in a medium bowl until smooth and free of lumps. Add 40 g of granulated sugar for filling, then beat in 1 large egg for filling until the mixture is glossy and uniform. Stir in 8 g of all-purpose flour for filling just until incorporated. Scrape the bowl thoroughly and set the filling aside while making the brownie batter.
Mix the fudgy brownie batter
Melt 150 g of unsalted butter in a large heatproof bowl and let it cool until warm rather than hot. Whisk in 200 g of granulated sugar for brownie batter for about 45 seconds, until the mixture looks glossy and slightly thickened. Add 2 large eggs for brownie batter one at a time, whisking well after each addition, then mix in 5 ml of vanilla extract. Add 45 g of unsweetened cocoa powder, 90 g of all-purpose flour for brownie batter, and 3 g of fine salt; fold with a flexible spatula until only a few dry streaks remain. Fold in 85 g of semisweet chocolate chips and stop as soon as the batter is evenly combined.
Build the hidden filling layer
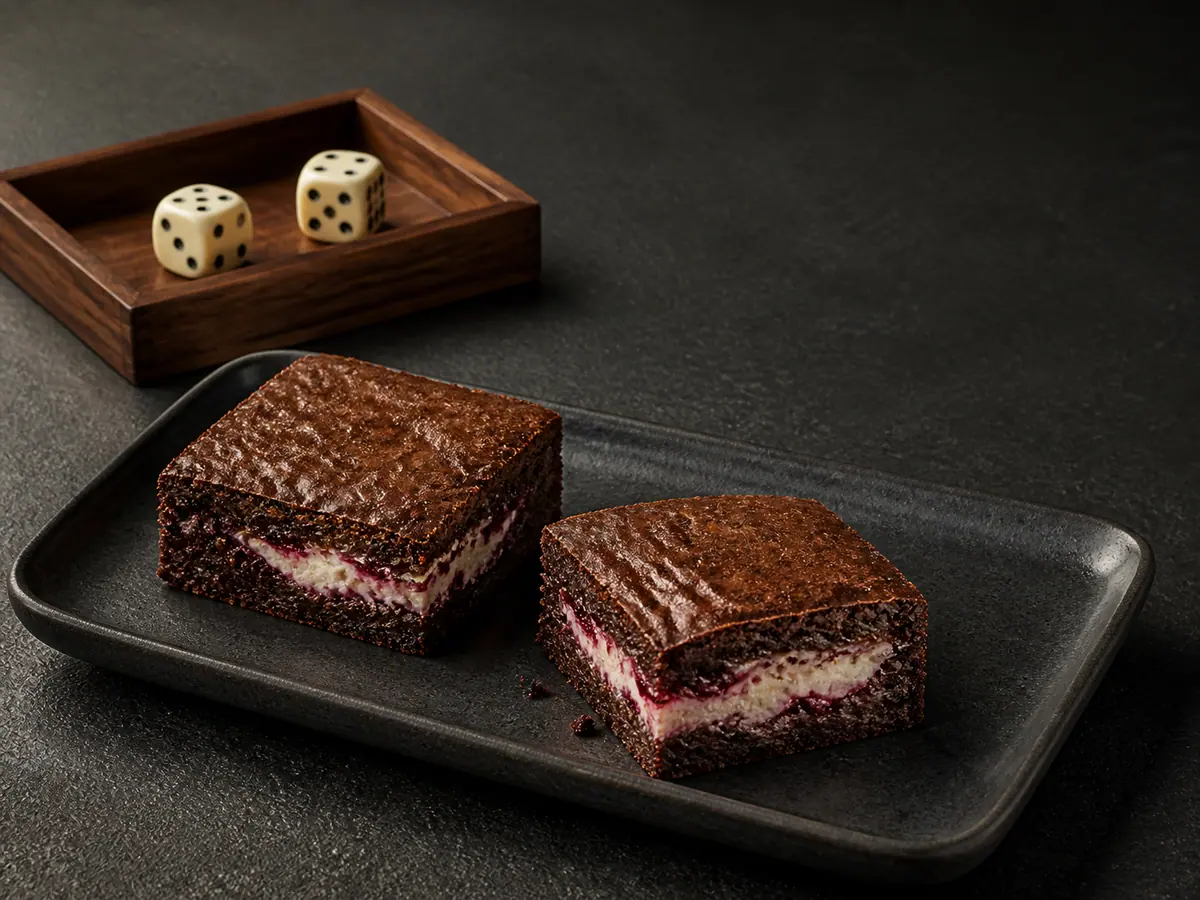
Spread slightly more than half of the brownie batter across the prepared pan, working it into the corners in an even layer. Spoon the cream cheese mixture over the batter and smooth it into a centered rectangle, leaving a 1 cm (3/8 in) border on every side. Dot 80 g of seedless raspberry preserves across the filling, then draw the tip of a knife through the preserves with six to eight shallow strokes; keep the marbling inside the cream cheese rather than cutting into the brownie layer. Spoon the remaining brownie batter in small dollops over the filling and gently connect them until the filling is completely covered.
Bake until safely set and fudgy
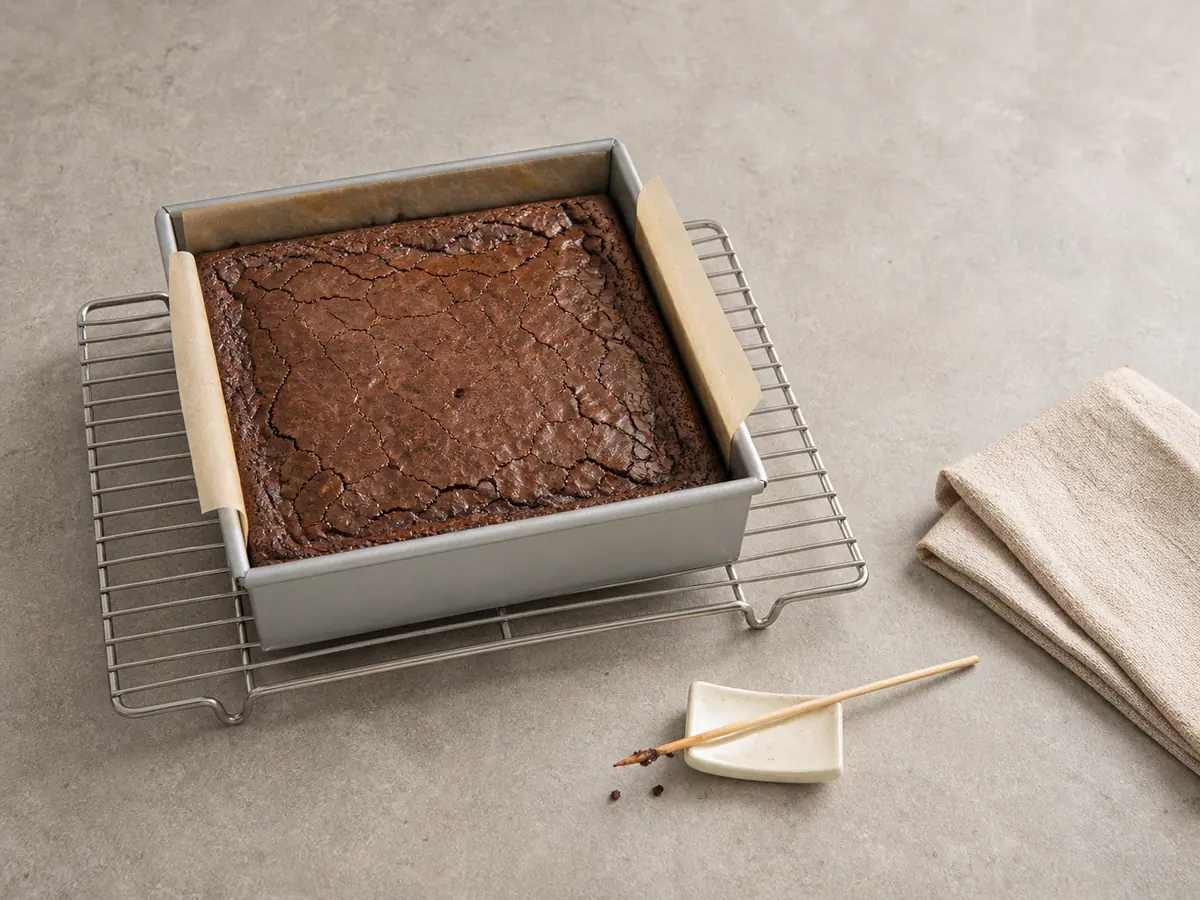
Bake for 32 to 38 minutes. Begin checking at 32 minutes: the edges should look set, the center should no longer wobble, and a tester inserted through a brownie-only area should carry moist crumbs rather than liquid batter. Check the center and one off-center spot with a clean food thermometer; both must reach at least 71°C/160°F because the batters contain egg. If needed, continue baking in 2-minute intervals, cleaning the thermometer probe between checks.
32:00Cool and reveal the squares
Set the pan on a wire rack and cool the brownie slab in the pan for at least 90 minutes, until the filling is set and the pan is no longer warm. Lift the slab out by the parchment and place it on a board. Use a hot, dry knife to trim only ragged edges if needed. For the default 8-serving batch, cut a four-by-four grid into 16 compact squares; for a scaled batch, cut the slab into twice the selected serving count, keeping the pieces as even as possible. Wipe the blade after every cut and serve two squares per serving with the filled sides visible.
1:30:00

Smart Substitutions
- No raspberry preserves? Use smooth cherry preserves or blackberry jam in the same quantity, keeping the fruit layer thin.
- No semisweet chips? Use the same weight of chopped dark chocolate and fold it in just before assembly.
- No full-fat cream cheese? Use mascarpone, but mix gently and keep the filling flour because mascarpone softens more readily.
- Prefer a quieter fruit note? Use half the preserves and leave wider pale streaks through the cheesecake layer.
Tips and Variations
- Keep the cream cheese layer at least 1 cm (3/8 in) from the pan walls so the brownie batter can seal around it.
- Dollop the final batter across the filling before spreading; dragging one large mound can pull the filling to the surface.
- For sharp reveal lines, heat and dry the knife before each row, then wipe away chocolate and filling between cuts.
What Went Wrong?
- Filling leaked along the edges The filling reached the pan wall or the top batter was too thin there. Keep a clear border and patch any pale spots before baking.
- Top batter drags the filling upward Place the batter in many small dollops, then connect them with short light strokes instead of pushing from one side.
- Center sinks after baking Bake until the center stops wobbling and reaches at least 71°C/160°F, then complete the full cooling interval before cutting.
- Brownies turned cakey Fold only until the flour disappears and begin checking at 32 minutes; extra mixing and baking both firm the crumb.
Nutrition Estimate
- Fiber: 3 g per serving
- Sodium: 250 mg per serving
Nutrition disclaimer:This recipe is provided for general cooking information only. Nutrition values are estimates and may vary by ingredients, brands, preparation methods, and serving sizes. Check ingredient labels and follow appropriate food-safety practices. This content is not medical, dietary, allergy, or professional food-safety advice.
FAQ
Found an error or have a suggestion?
Help us improve this recipe. Send us your feedback and include the recipe name so we can take a look.