Method
Prepare the filling ingredients
Chop 60 g of napa cabbage into pieces no larger than 5 mm (1/4 in). Remove the tough stems from 50 g of fresh shiitake mushrooms, then chop the caps to the same size. Crumble 60 g of firm tofu into small irregular pieces. Grate 25 g of carrot on the large holes of a box grater. Slice 15 g of scallions thinly, reserving about one-quarter for the dipping sauce. Mince 3 g of garlic and grate 6 g of fresh ginger so the aromatics distribute evenly through the filling.
Brown the mushrooms and tofu
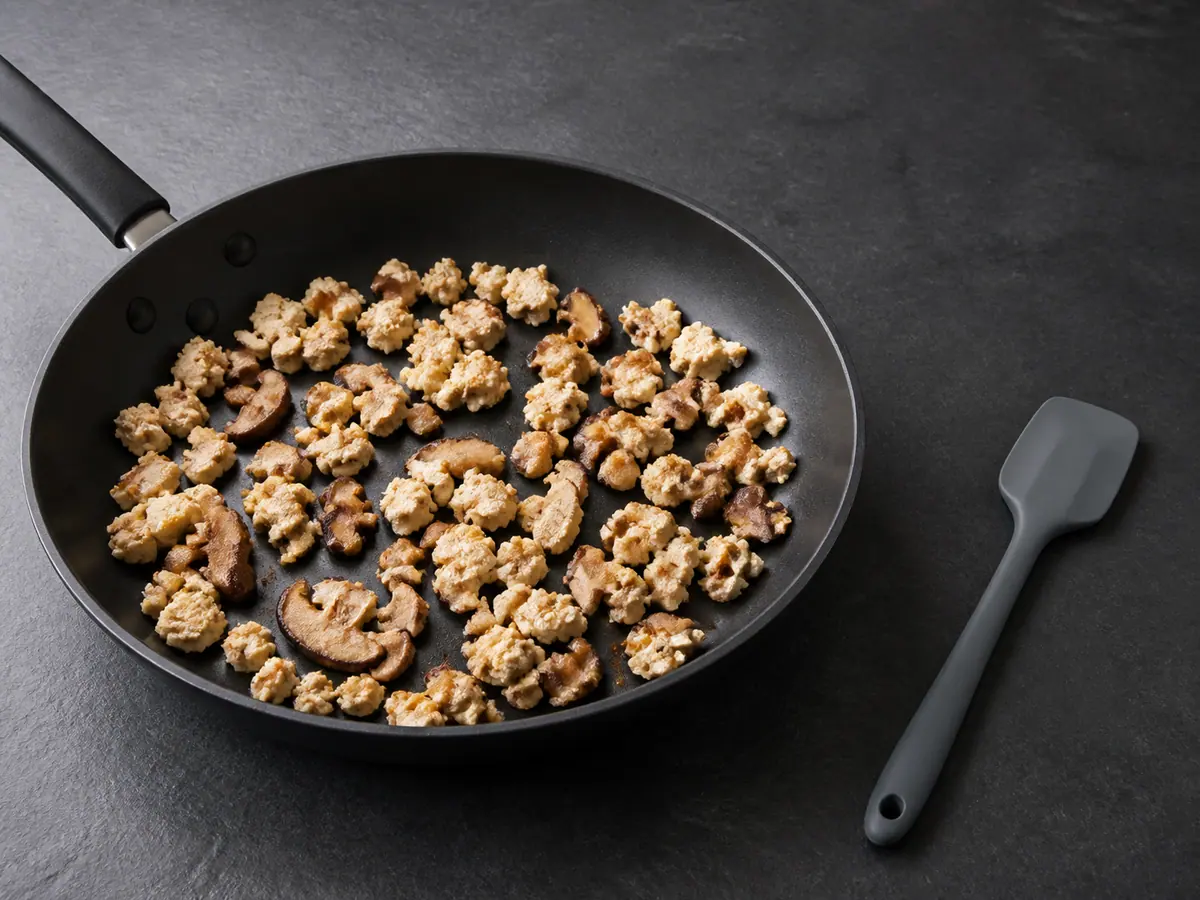
Warm 5 ml of toasted sesame oil for filling in a large skillet over medium-high heat. Add 50 g of fresh shiitake mushrooms and 60 g of firm tofu, spread them into an even layer, and cook for about 5 minutes. Stir only every minute or so, allowing the mushroom edges and some tofu crumbles to take on light brown color while visible moisture cooks away.
05:00Wilt the cabbage and carrot
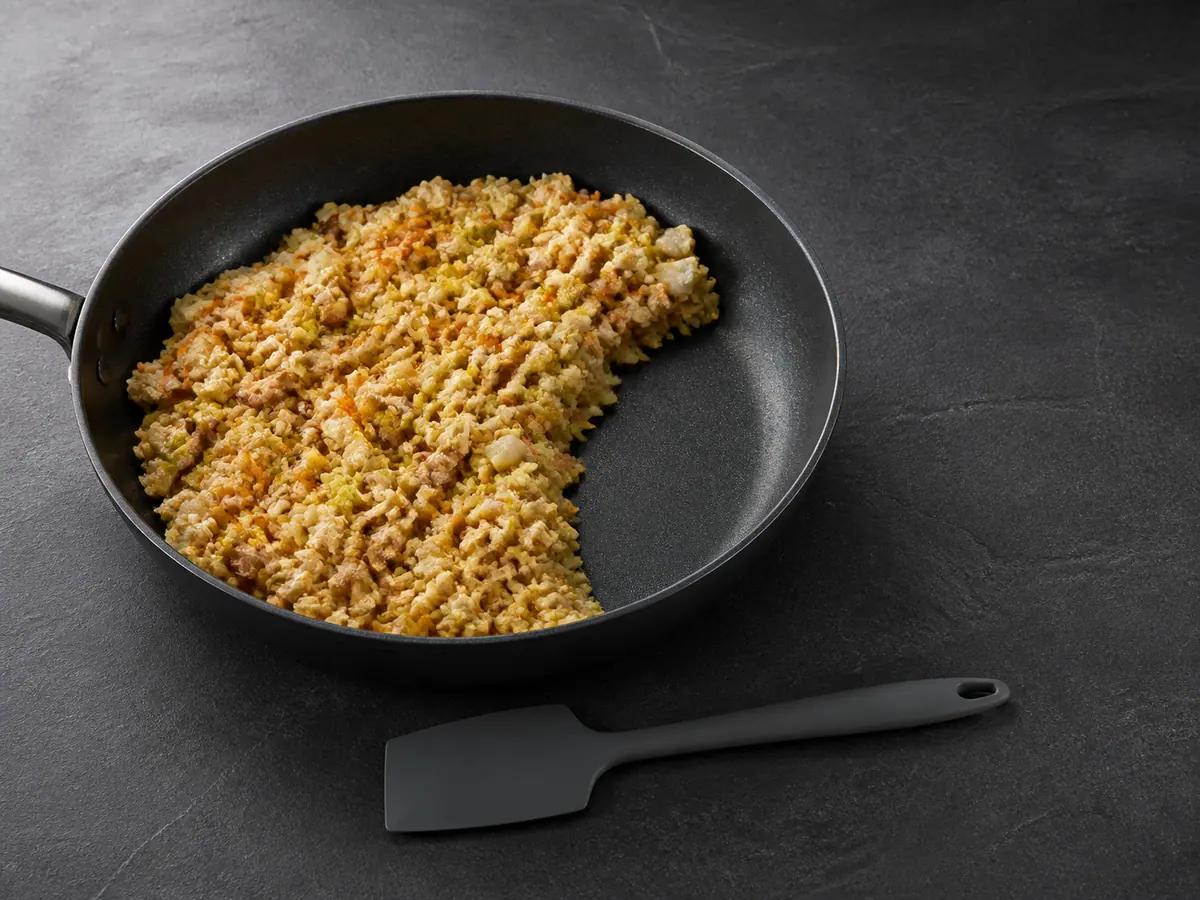
Add 60 g of napa cabbage and 25 g of carrot to the skillet. Cook over medium-high heat for about 5 minutes, stirring and pressing the vegetables against the pan, until the cabbage has softened and the skillet looks dry when the mixture is pushed aside. Lower the heat slightly if the tofu begins to darken before the vegetable moisture evaporates.
05:00Season the filling
Add 3 g of garlic, 6 g of fresh ginger, the scallions not reserved for dipping, 7.5 ml of reduced-sodium soy sauce for filling, 5 ml of rice vinegar for filling, and 0.5 g of ground white pepper. Cook for 1 minute, stirring constantly, until the aromatics smell fragrant, the seasonings coat the filling, and no liquid remains at the bottom of the skillet. Transfer the filling to a wide shallow bowl.
01:00Cool the filling
Spread the filling into an even layer in the bowl so heat can escape quickly. Let it stand for 10 minutes, stirring once halfway through. The filling should be close to room temperature and feel cohesive rather than wet before it touches the wrappers; warm or steamy filling can soften the dough and weaken the seals.
10:00Fold the marching-order dumplings
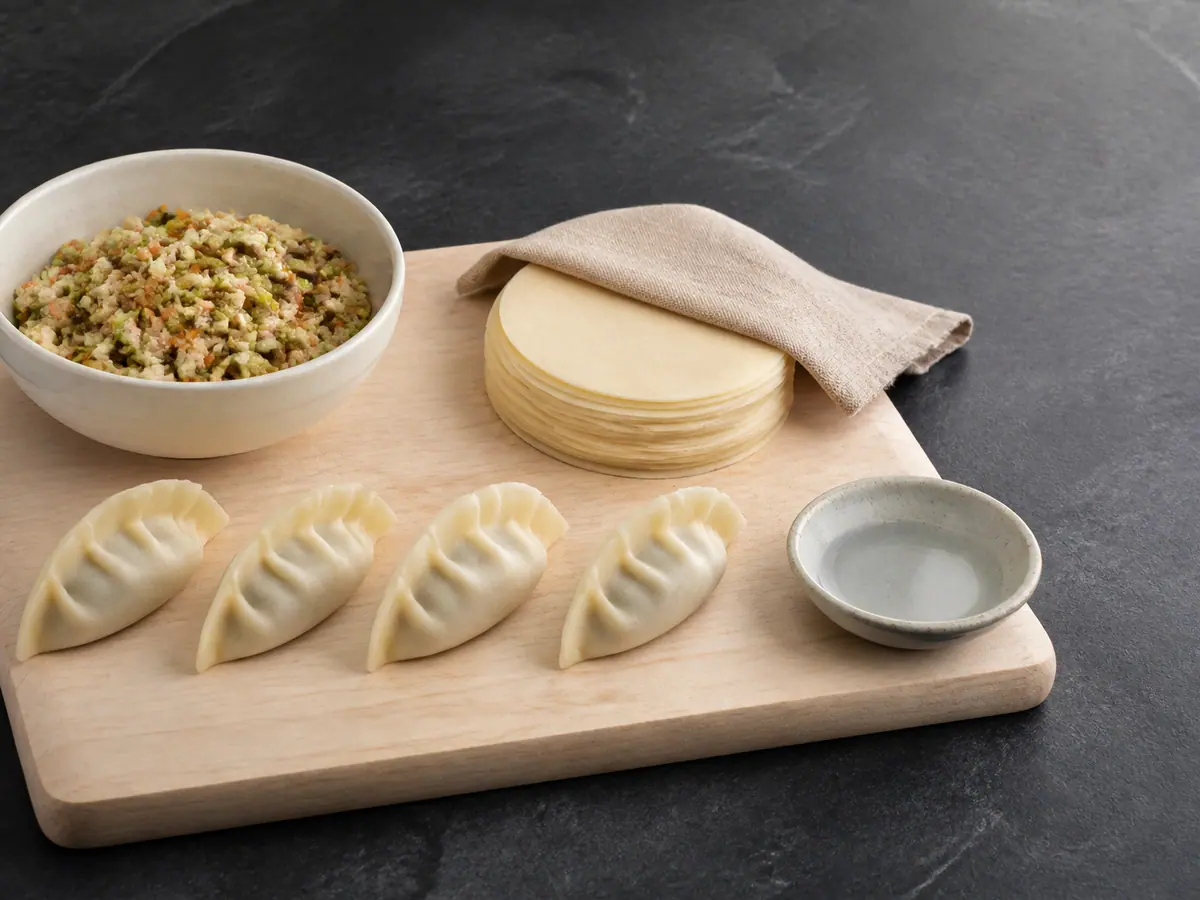
Set 16 round wheat dumpling wrappers on the work surface and keep the unused wrappers beneath a barely damp towel while you work. Pour 30 ml of water for sealing into a small bowl. Place one wrapper in front of you and add about 1 level tablespoon of filling to the center, keeping a 12 mm (1/2 in) border clear. Moisten the border lightly, fold the wrapper into a half-moon, press out trapped air, and seal the edge firmly. Add five or six simple pleats along one side, then tap the dumpling gently on the work surface to flatten the base so it can stand upright. Repeat with the remaining wrappers and filling, arranging the completed dumplings in loose rows without letting them touch. At the default 4 servings, the batch makes 16 dumplings.
Mix the dipping sauce
Stir 30 ml of reduced-sodium soy sauce for dipping, 20 ml of rice vinegar for dipping, 5 ml of toasted sesame oil for dipping, and the reserved sliced scallions together in a small serving bowl. Set the bowl near the serving platter so the finished dumplings can be served immediately without further table assembly.
Brown the dumpling bases
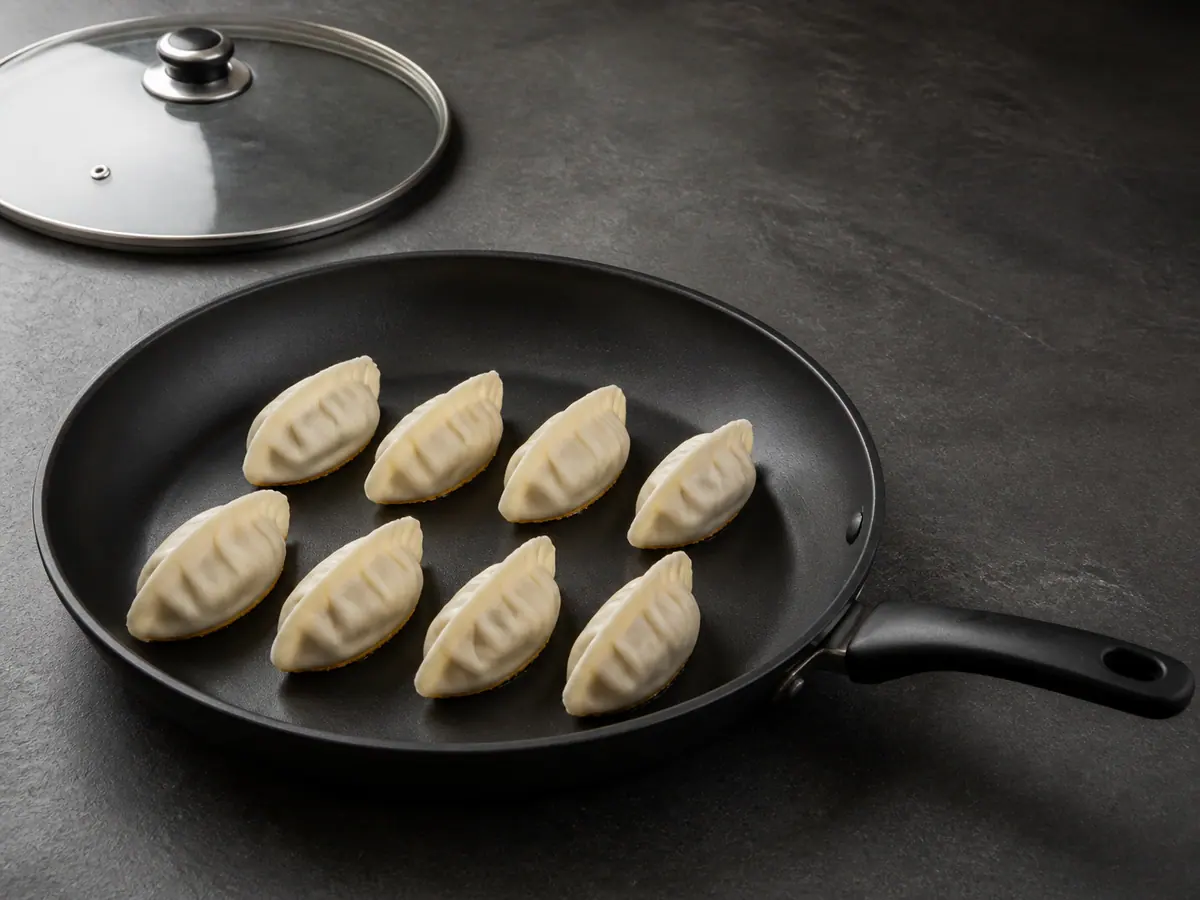
Use a 30 cm (12 in) nonstick skillet with a tight-fitting lid for batches of up to 8 dumplings. Divide 15 ml of neutral cooking oil evenly across the number of batches needed. Warm one portion of oil over medium heat, then arrange up to 8 dumplings upright in a single layer with small gaps. Cook for 2 to 3 minutes, beginning the check at 2 minutes; the bases should be light golden and release with a gentle nudge while the upper wrappers remain pale. Follow the next two steps for that batch, then repeat the full browning, steaming, and re-crisping sequence until all dumplings are cooked.
02:00Steam the dumplings
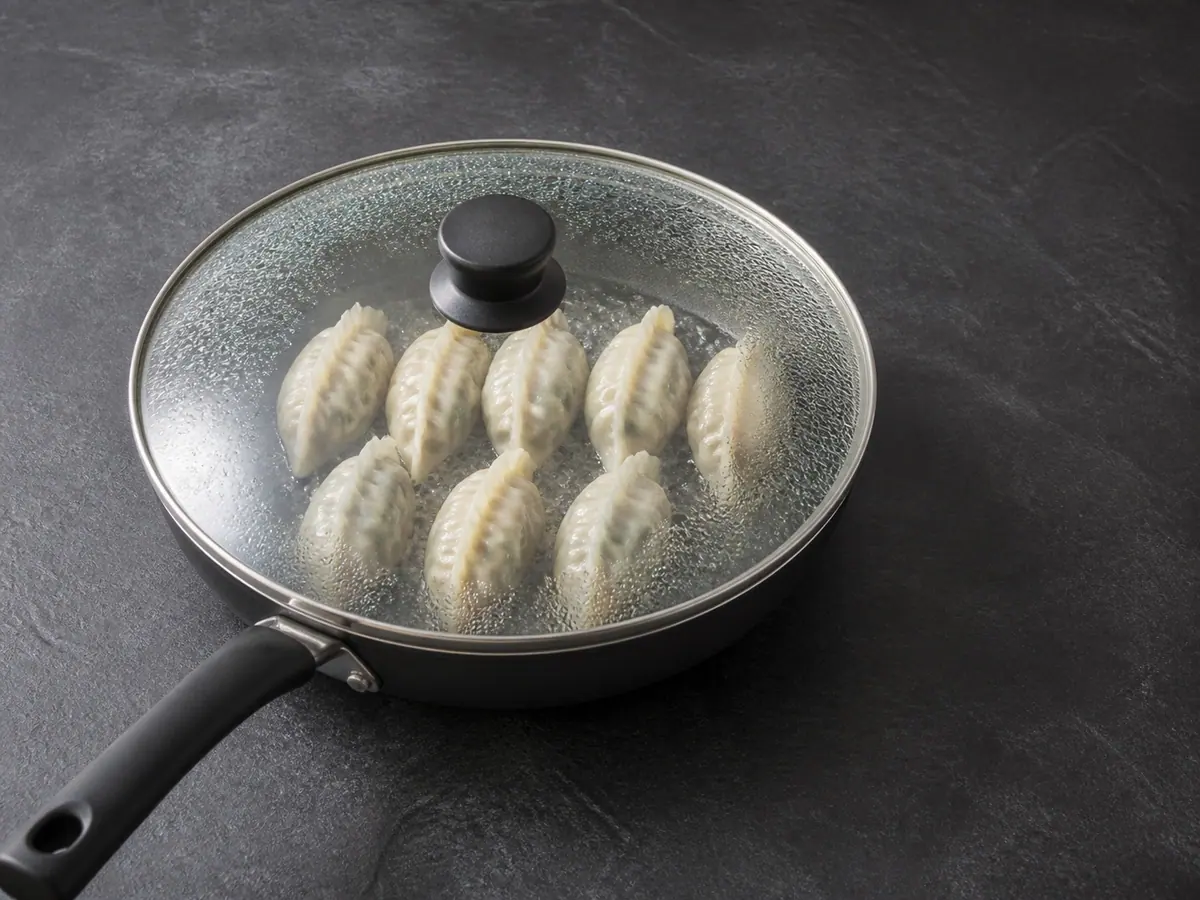
Divide 120 ml of water for steaming evenly across the same number of batches. Stand back from the pan and pour one portion around, not over, the dumplings in the current batch. Cover immediately and keep the heat at medium. Steam for 5 to 6 minutes, beginning the check at 5 minutes, until the wrappers look slightly translucent, feel tender at the thick seam, and the filling is piping hot. A steady hiss is normal; lower the heat if liquid spits forcefully from beneath the lid.
05:00Re-crisp and serve in formation
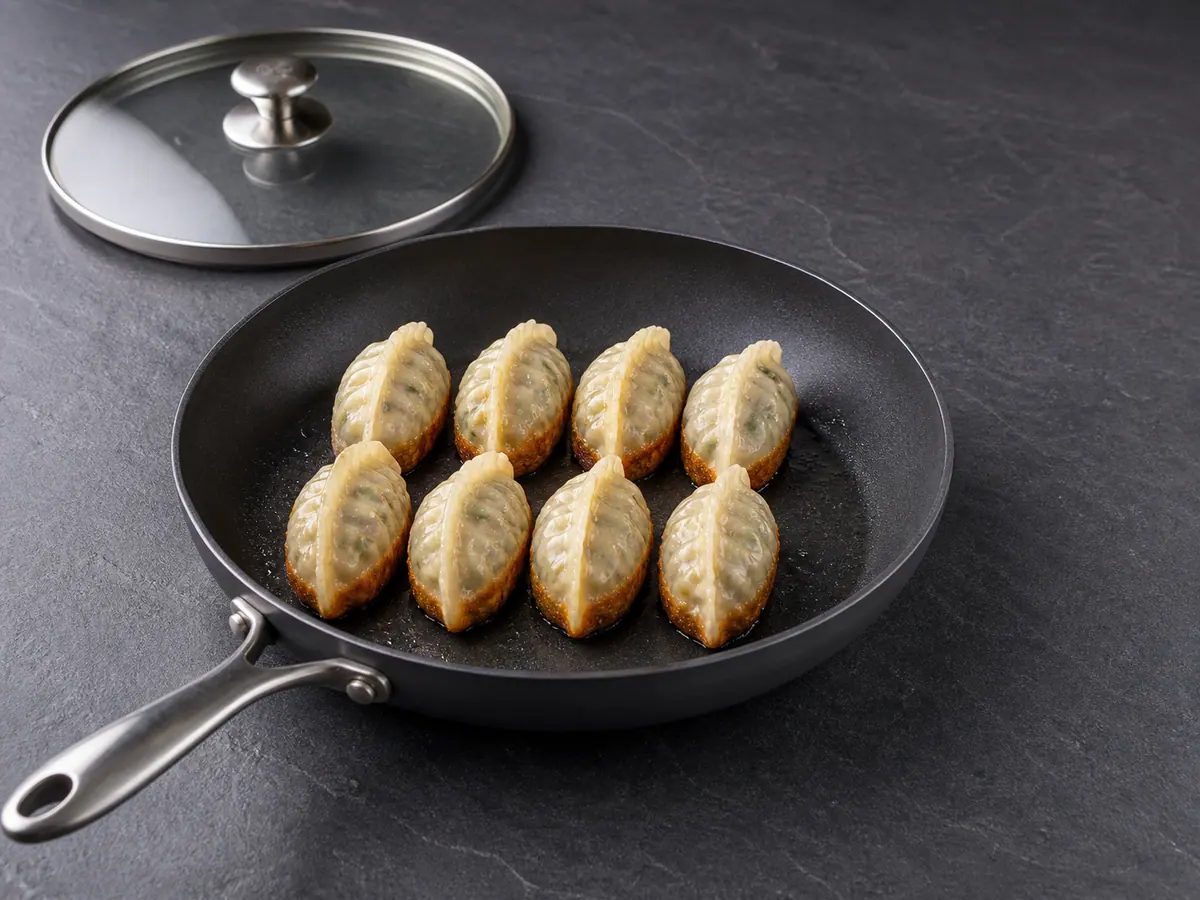
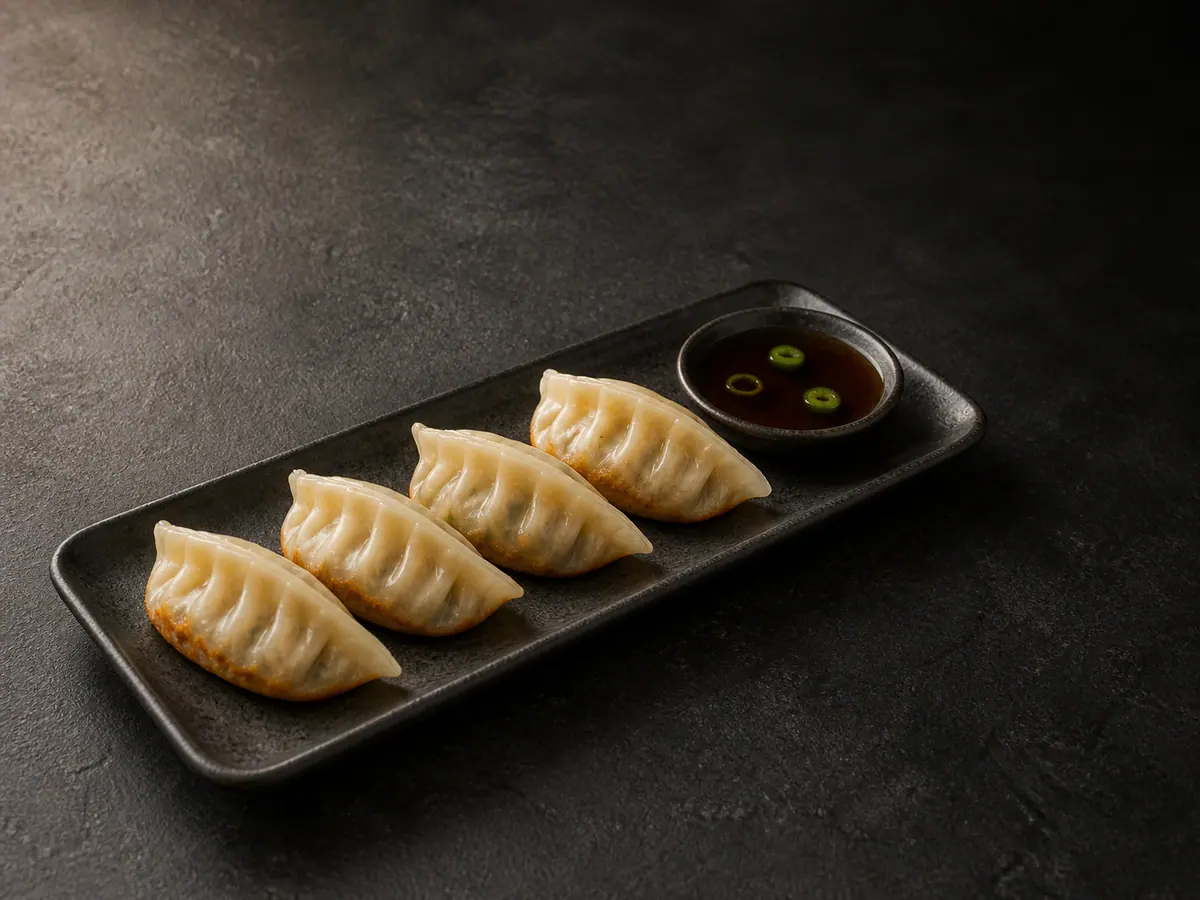
Remove the lid, letting the steam move away from your face. Continue cooking for 1 to 2 minutes, beginning the check at 1 minute, until the water has evaporated and the bottoms are deep golden and crisp. Transfer the cooked batch to a long platter crispy-side down. Repeat the full browning, steaming, and re-crisping sequence until every dumpling is cooked, then arrange the dumplings in straight lines of four, one line per serving. Serve immediately with the dipping sauce at the head of the formation.
01:00


Smart Substitutions
- No shiitake mushrooms? Use the same weight of cremini mushrooms and cook them until their liquid has fully evaporated.
- No napa cabbage? Use savoy or green cabbage, chop it very finely, and allow an extra minute or two for the skillet to dry.
- No firm tofu? Replace it with an equal weight of cooked shelled edamame, chopped finely enough to bind with the vegetables.
- Need another wrapper route? Use round wrappers labeled for dumplings or potstickers; square wonton wrappers can be folded diagonally but will not stand in the same straight formation.
Tips and Variations
- Keep every filling piece smaller than the pleat width so sharp vegetable edges do not puncture the wrappers.
- Use only a light film of sealing water; soaked edges turn slippery and are harder to press closed.
- A thin flexible spatula lifts the rows with less damage than tongs, which can squeeze the tender wrappers.
- Check the wrapper, tofu, soy sauce, and sesame-oil labels for wheat, soy, sesame, or egg information because packaged formulas vary.
What Went Wrong?
- The seams open in the skillet Use less filling, press out trapped air, and pinch the moistened edge firmly before adding pleats.
- Liquid gathers around the filling Return the mixture to the skillet and cook over medium-high heat until the pan looks dry when the filling is pushed aside.
- The bottoms darken before steaming Lower the heat to medium and add the steaming water as soon as the bases become light golden.
- The dumplings stick after cooking Let the final water evaporate completely, then work a thin spatula under each row instead of pulling from the pleated tops.
Nutrition Estimate
- Fiber: 3 g per serving
- Sodium: 540 mg per serving
Nutrition disclaimer:This recipe is provided for general cooking information only. Nutrition values are estimates and may vary by ingredients, brands, preparation methods, and serving sizes. Check ingredient labels and follow appropriate food-safety practices. This content is not medical, dietary, allergy, or professional food-safety advice.
FAQ
Found an error or have a suggestion?
Help us improve this recipe. Send us your feedback and include the recipe name so we can take a look.