Method
Toast the countdown garnish
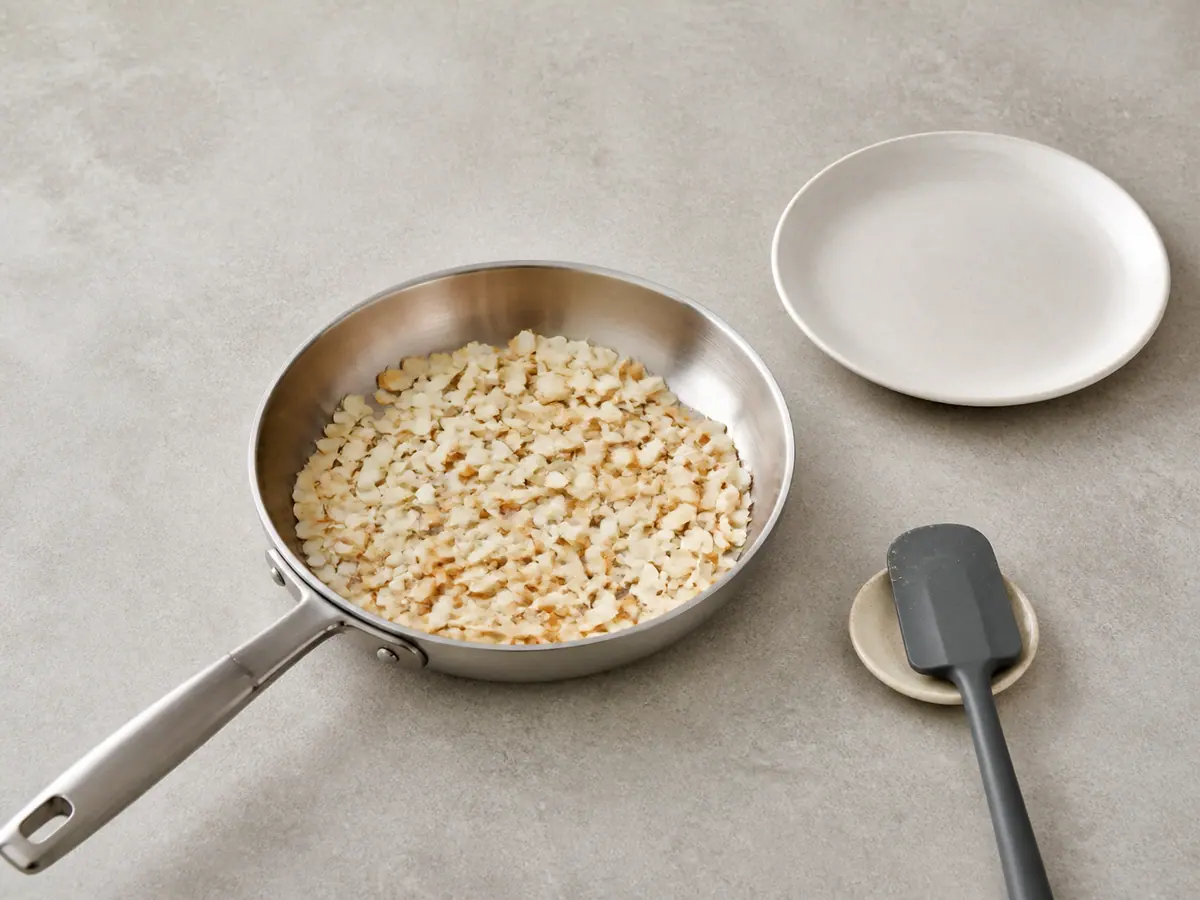
Place a small skillet over medium-low heat. Add unsweetened coconut flakes (optional) in a thin layer and stir almost constantly for 2 to 3 minutes. Start checking at 2 minutes; remove the skillet as soon as most flakes are still pale with light-golden edges and a nutty aroma. Tip them onto a plate immediately so the hot metal does not keep browning them. Skip the garnish by leaving this step out.
02:00Build the cocoa base
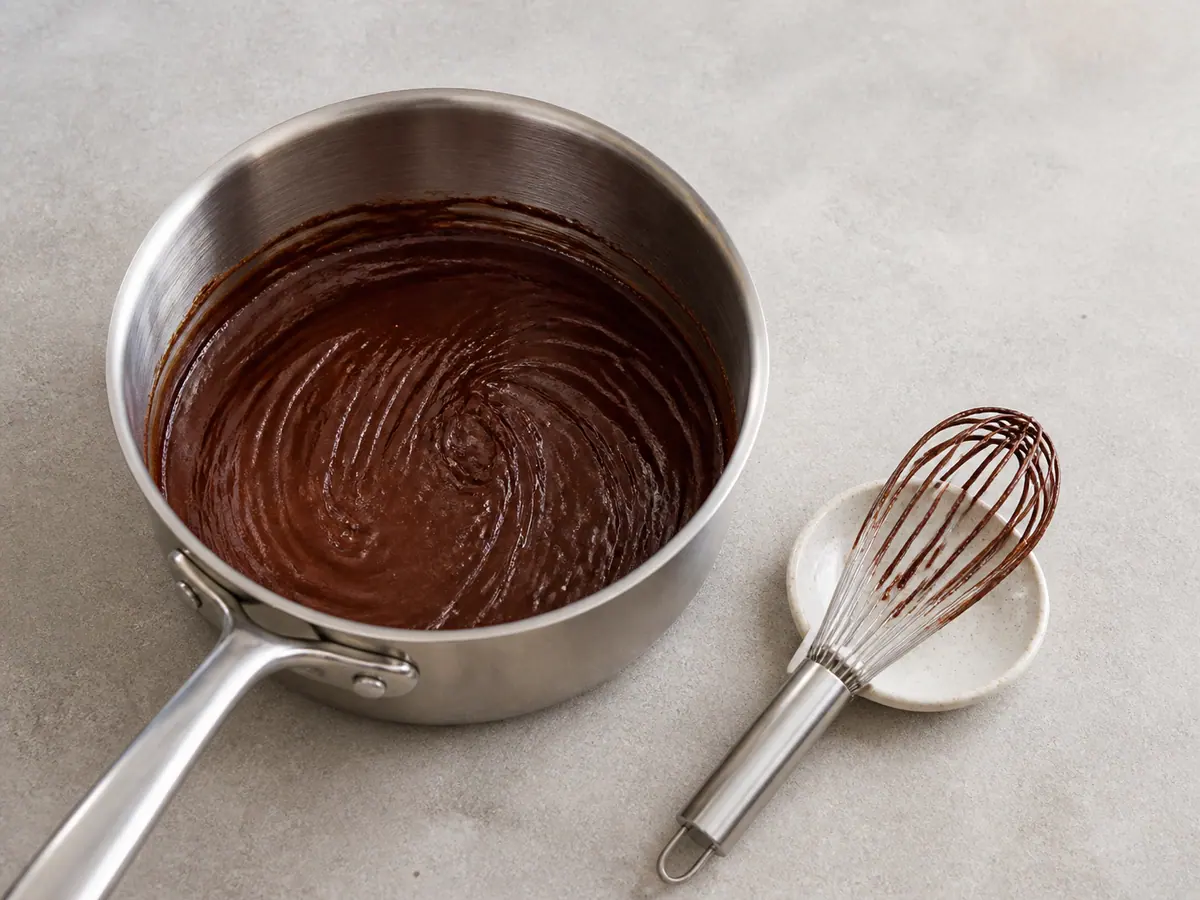
Add 40 g of unsweetened cocoa powder, 80 ml of pure maple syrup, 1 g of ground cinnamon, 1 g of vanilla bean powder, and 1 g of fine sea salt to a medium saucepan. Whisk firmly until the mixture becomes a uniform, glossy paste with no dry cocoa along the bottom or sides. Scrape the corners of the pan before adding liquid; this small step is what keeps the finished mugs smooth.
Heat the continue
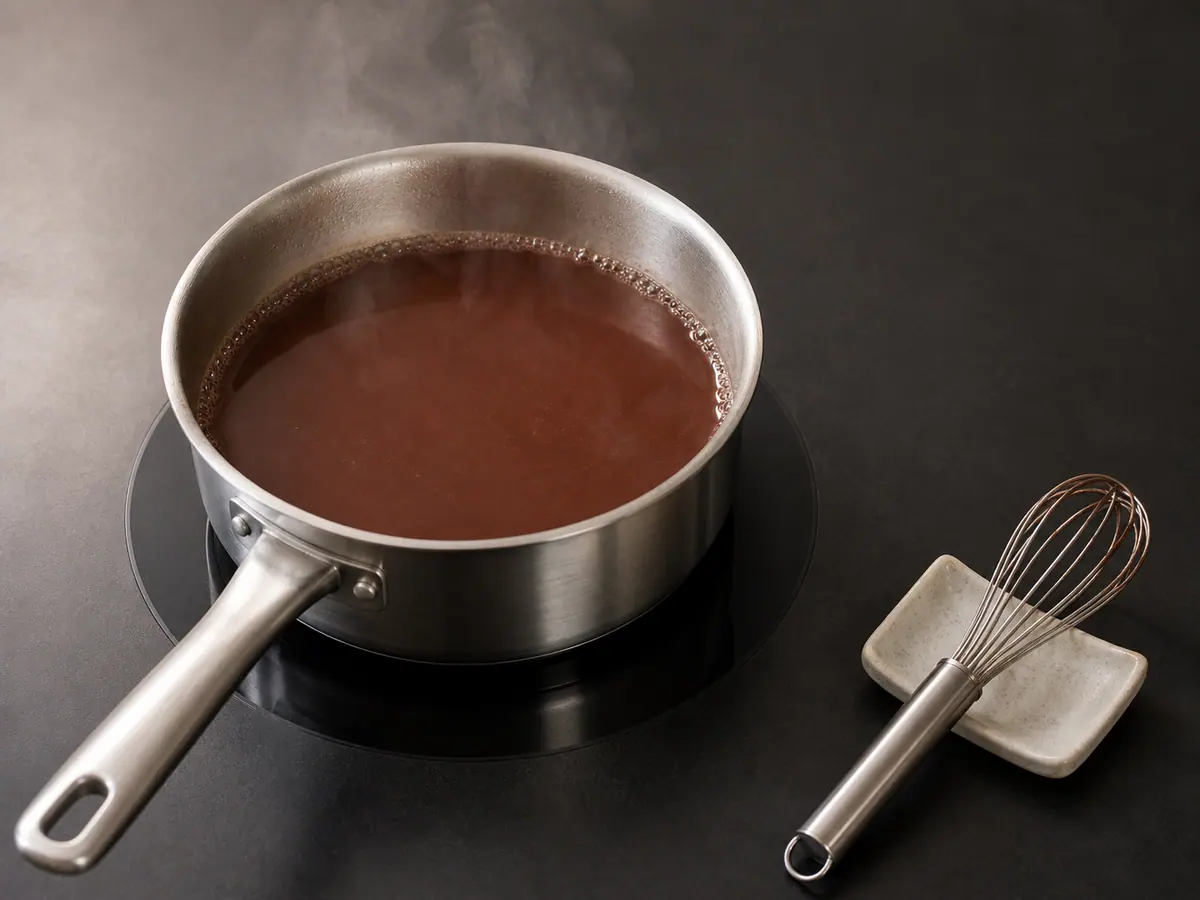
Gradually whisk 840 ml of unsweetened coconut beverage into the cocoa paste, adding it slowly at first so the base stays smooth. Whisk in 120 ml of canned coconut milk, then set the saucepan over medium-low heat. Cook for 6 to 8 minutes, whisking often and scraping the bottom, until the cocoa is steaming and small bubbles appear only around the edge. Start checking at 6 minutes and do not let it boil. Remove the pan from the heat, add 56 g of 70% dark chocolate, and whisk until fully melted and glossy.
06:00Serve on the count
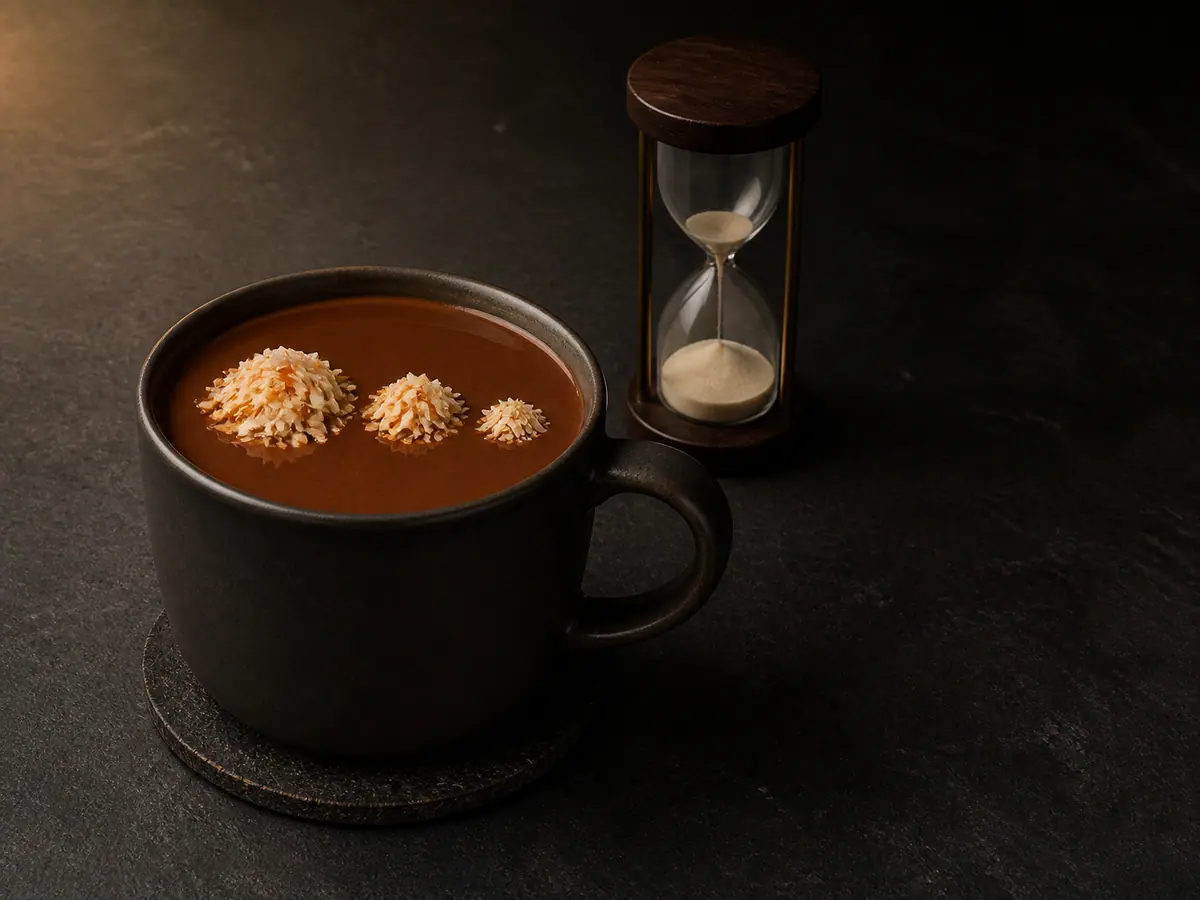
Whisk the cocoa once more, then divide it evenly among heatproof mugs. For the optional countdown finish, if using unsweetened coconut flakes (optional), arrange them on each mug in three small clusters, moving from the largest cluster to the smallest and leaving dark cocoa visible between them. Serve immediately at the planned intermission, when everyone can set down cards, controllers, or utensils before picking up a hot mug.


Smart Substitutions
- No dark chocolate? Use an equal weight of semisweet chocolate and reduce the maple syrup to taste.
- No maple syrup? Use agave syrup in the same volume, or whisk in light brown sugar until completely dissolved.
- Want a lighter mug? Replace the canned coconut milk with the same volume of unsweetened coconut beverage for a thinner finish.
- No vanilla bean powder? Use an alcohol-free vanilla flavor labeled 0% alcohol, adding it after the saucepan comes off the heat.
Tips and Variations
- Shake the canned coconut milk thoroughly before measuring so the fat and liquid are evenly combined.
- Natural cocoa gives a brighter, slightly sharper cup; Dutch-process cocoa makes the flavor rounder and darker.
- Warm the mugs with hot water, then empty and dry them just before pouring so the first sip stays hot through the countdown.
What Went Wrong?
- Cocoa has dry lumps Take the pan off the heat and whisk vigorously, pressing stubborn pockets against the side of the saucepan. Strain only if a few lumps remain.
- Chocolate looks oily The mixture became too hot. Remove it from the heat and whisk in a small splash of coconut beverage until the surface turns glossy again.
- Cocoa tastes too bitter Whisk in a little more maple syrup, taste, and stop as soon as the cocoa and coconut feel balanced.
- Cocoa is too thin Return it to low heat and whisk gently until steam rises steadily and the texture lightly coats the whisk.
Nutrition Estimate
- Fiber: 6 g per serving
- Sodium: 200 mg per serving
Nutrition disclaimer:This recipe is provided for general cooking information only. Nutrition values are estimates and may vary by ingredients, brands, preparation methods, and serving sizes. Check ingredient labels and follow appropriate food-safety practices. This content is not medical, dietary, allergy, or professional food-safety advice.
FAQ
Found an error or have a suggestion?
Help us improve this recipe. Send us your feedback and include the recipe name so we can take a look.