Method
Mix and knead the dough
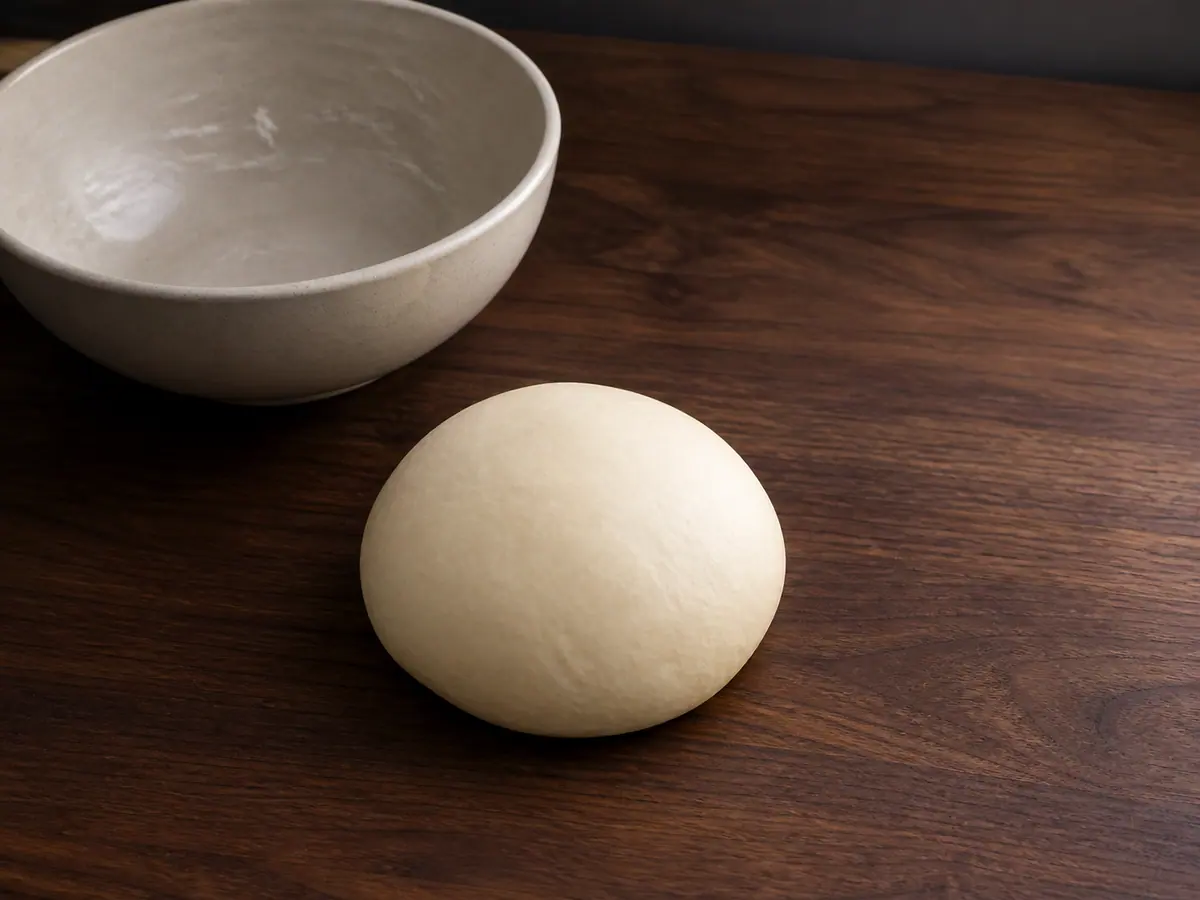
Whisk 320 g of all-purpose flour, 25 g of granulated sugar for dough, 5 g of instant yeast, 4 g of baking powder, and 2 g of fine sea salt for dough in a large bowl. Use water around 38°C (100°F), comfortably warm but not hot. Pour in 180 ml of warm water and 15 ml of neutral oil for dough, then mix until no dry flour remains. Knead on a clean work surface for 8 to 10 minutes, starting the texture check at 8 minutes, until the dough is smooth, elastic, and only slightly tacky. Avoid adding extra flour unless the dough truly sticks to the counter.
08:00Let the dough rise
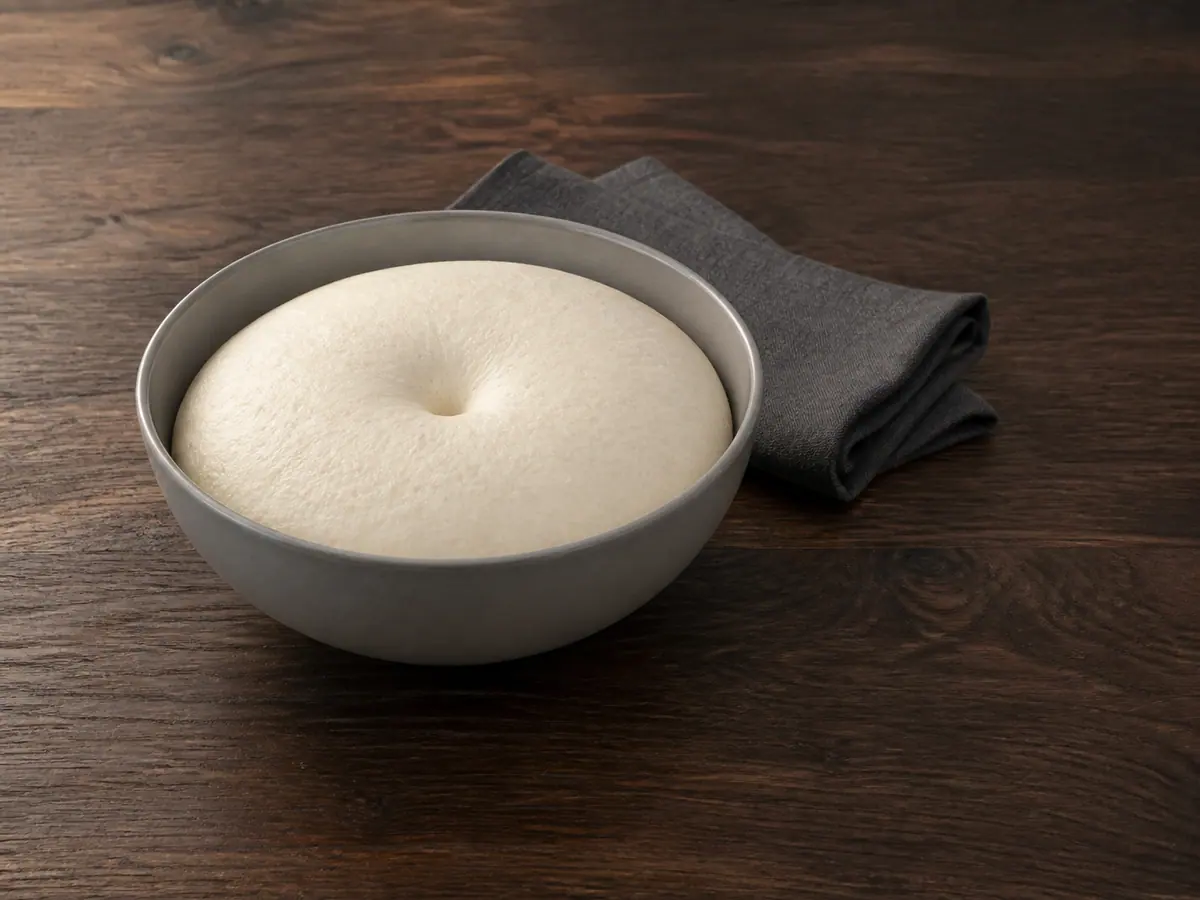
Shape the dough into a tight ball and place it seam-side down in a clean bowl. Cover the bowl and let the dough rise in a warm, draft-free spot for 60 to 75 minutes, starting the volume check at 60 minutes. It is ready when it looks nearly doubled and a fingertip pressed gently into the surface leaves an indentation that slowly eases back.
60:00Cook the savory filling
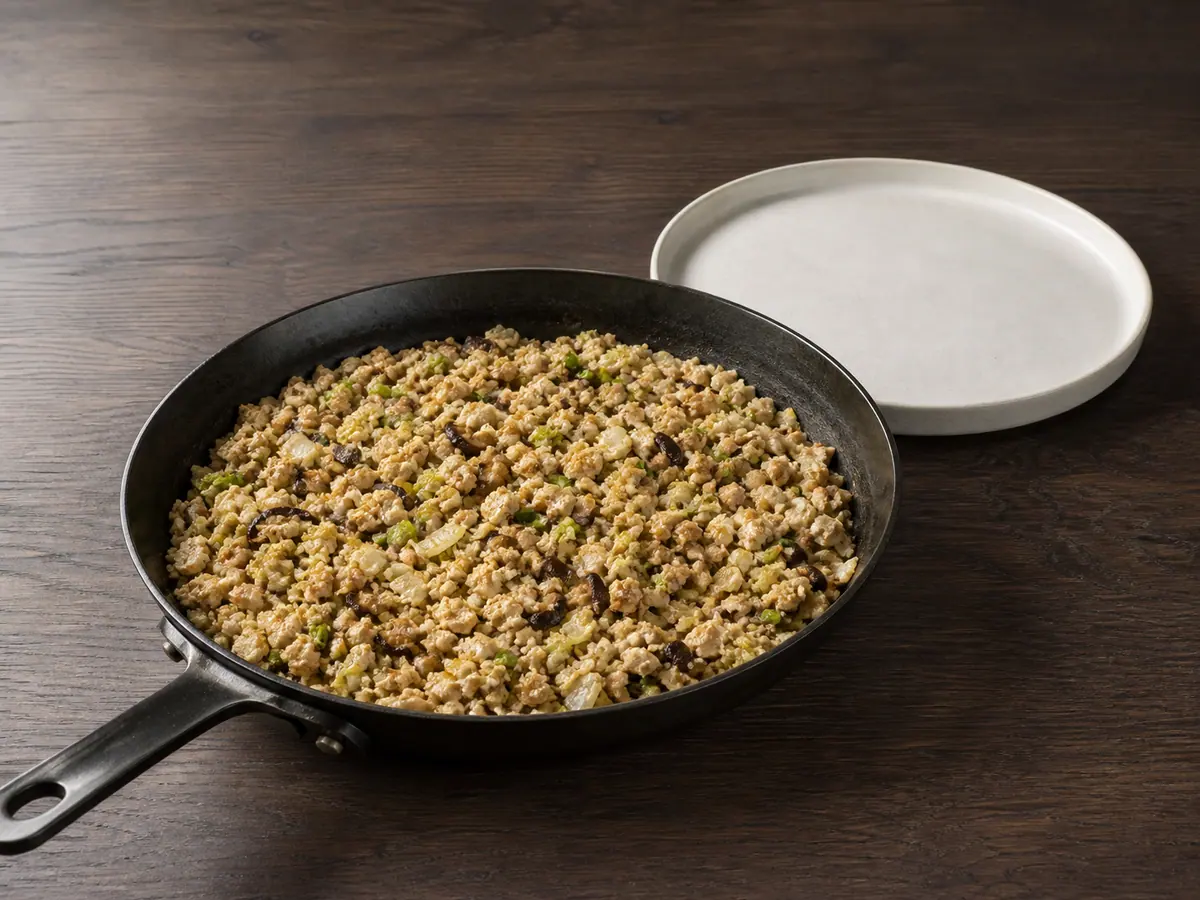
While the dough rises, blot 300 g of firm tofu dry and crumble it into small pieces. Cut 200 g of fresh shiitake mushrooms and 200 g of napa cabbage into fine pieces. Slice 40 g of scallions for filling, mince 15 g of fresh ginger for filling, and mince 10 g of garlic cloves. Warm 15 ml of neutral oil for filling in a wide skillet over medium-high heat. Cook the mushrooms first until their moisture has mostly evaporated, then add the tofu, cabbage, scallions, ginger, and garlic. Continue cooking, stirring often, until the cabbage is tender and the pan looks nearly dry. Stir in 30 ml of reduced-sodium soy sauce for filling, 15 ml of rice vinegar for filling, 10 ml of toasted sesame oil for filling, 8 g of granulated sugar for filling, and 1 g of ground white pepper. Sprinkle in 12 g of cornstarch and cook until the mixture is cohesive with no liquid pooling, 12 to 15 minutes total. Start checking at 12 minutes, then spread the filling on a wide plate so it can cool completely before wrapping.
12:00Divide and roll the wrappers
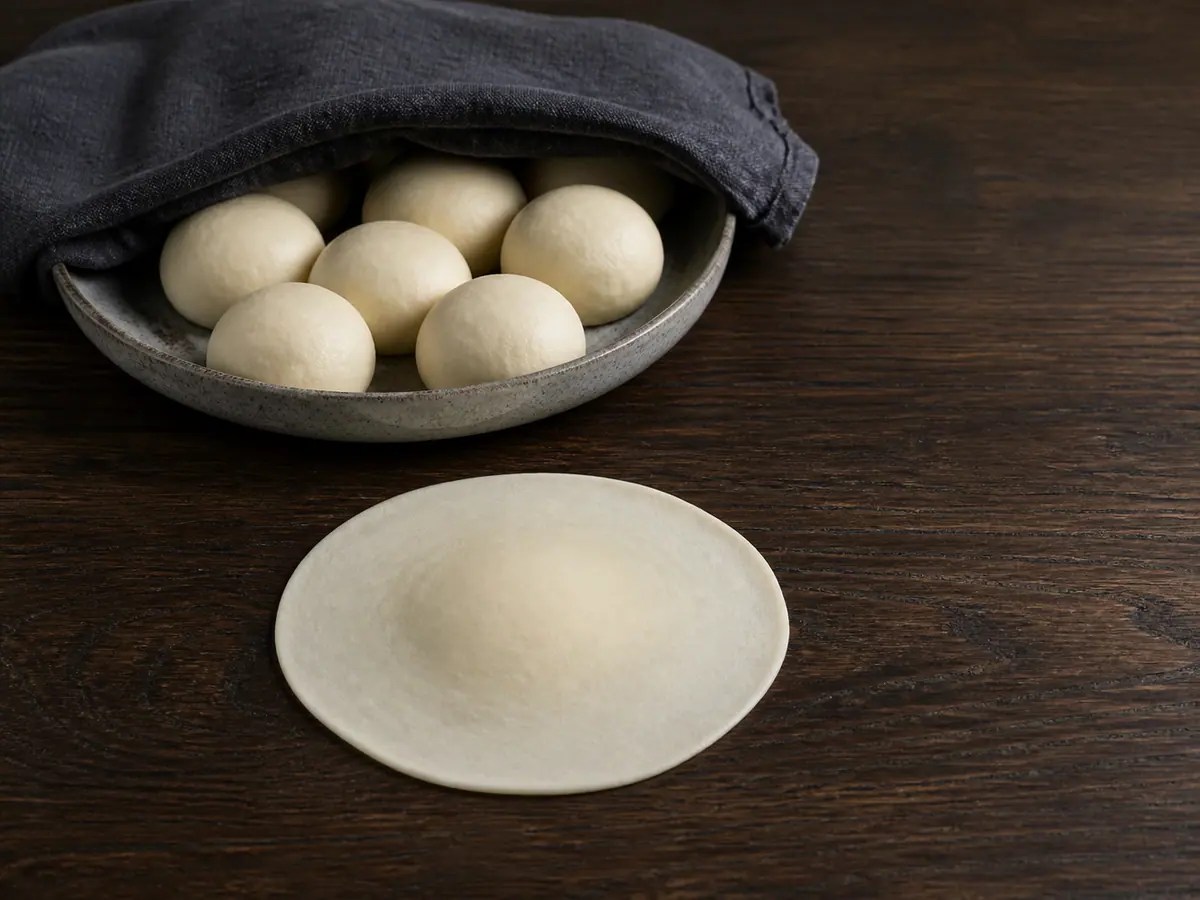
Press the risen dough gently to release large air pockets, then knead it for about 1 minute until smooth again. Divide the dough into two equal portions per serving and keep unused portions covered. Roll one portion at a time into a round about 10 cm (4 in) across, leaving the center slightly thicker than the edge so the base can support the filling without becoming heavy at the pleats.
Fill, pleat, and mark the routes
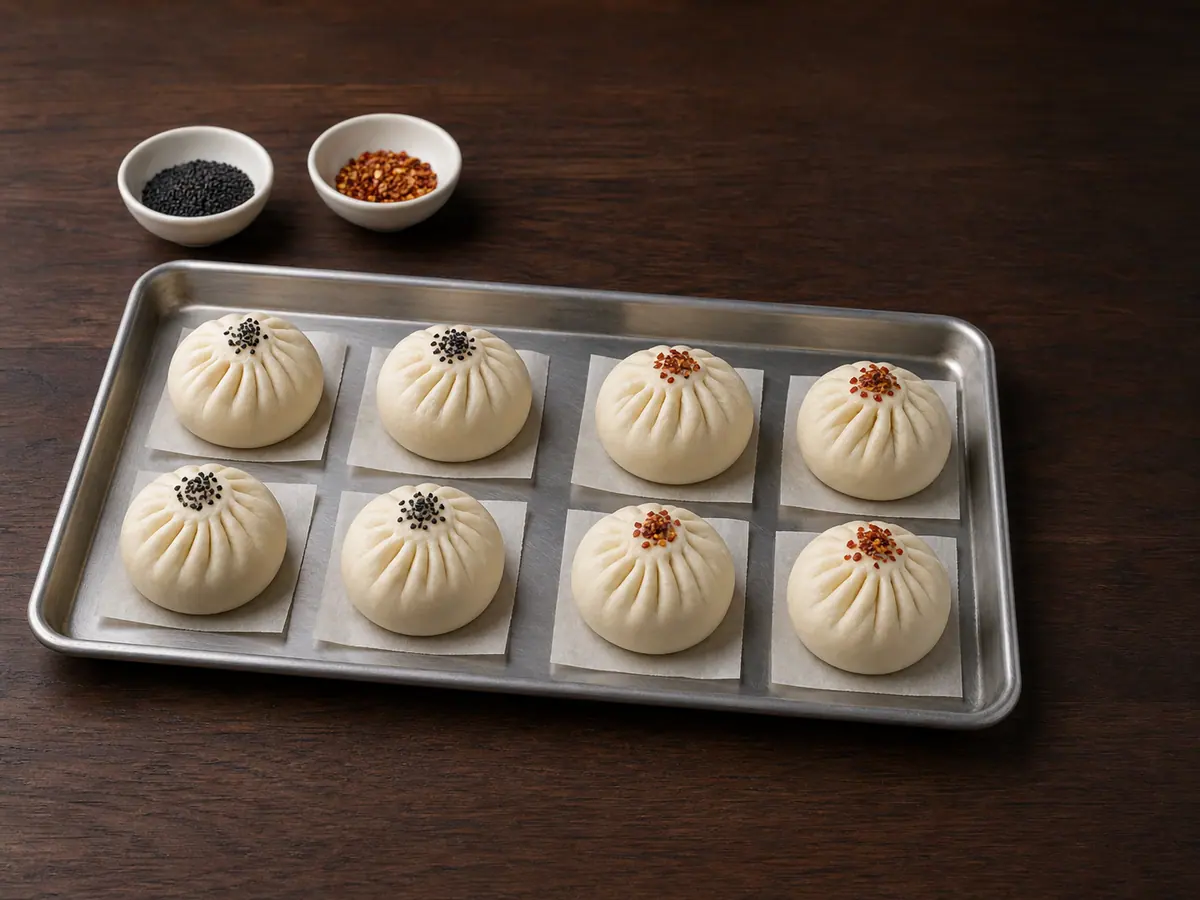
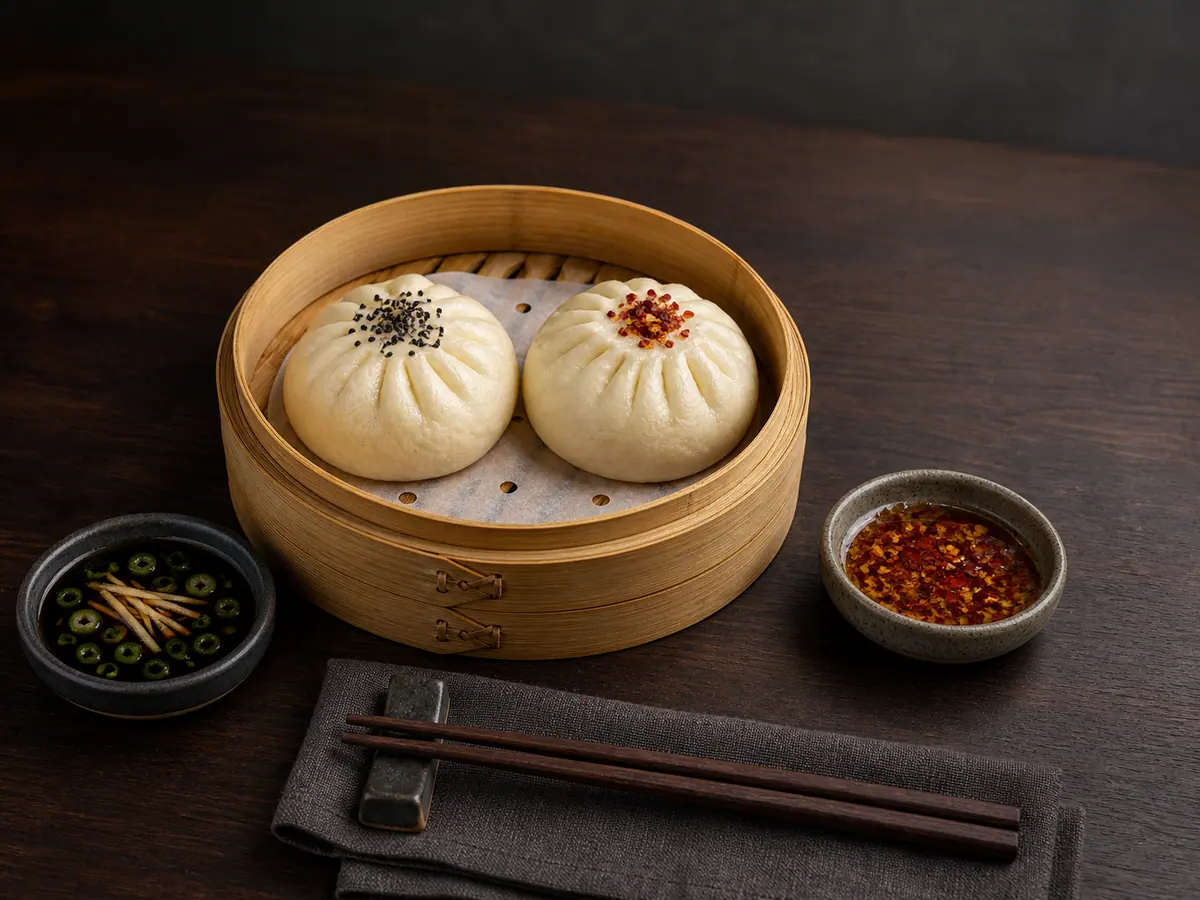
Divide the cooled filling evenly among the wrappers, keeping it centered and leaving the edges clean. Gather the edge into narrow pleats, turning the wrapper as you work, then pinch the crown firmly so no filling is exposed. Set each bun on its own square of parchment. Reserve half of 2 g of crushed red pepper for the chili sauce. Press 4 g of black sesame seeds onto the crowns of half the buns and use the remaining crushed red pepper to mark the other half. Keep the two marker groups separate so the dipping choices remain easy to identify.
Proof the shaped bao
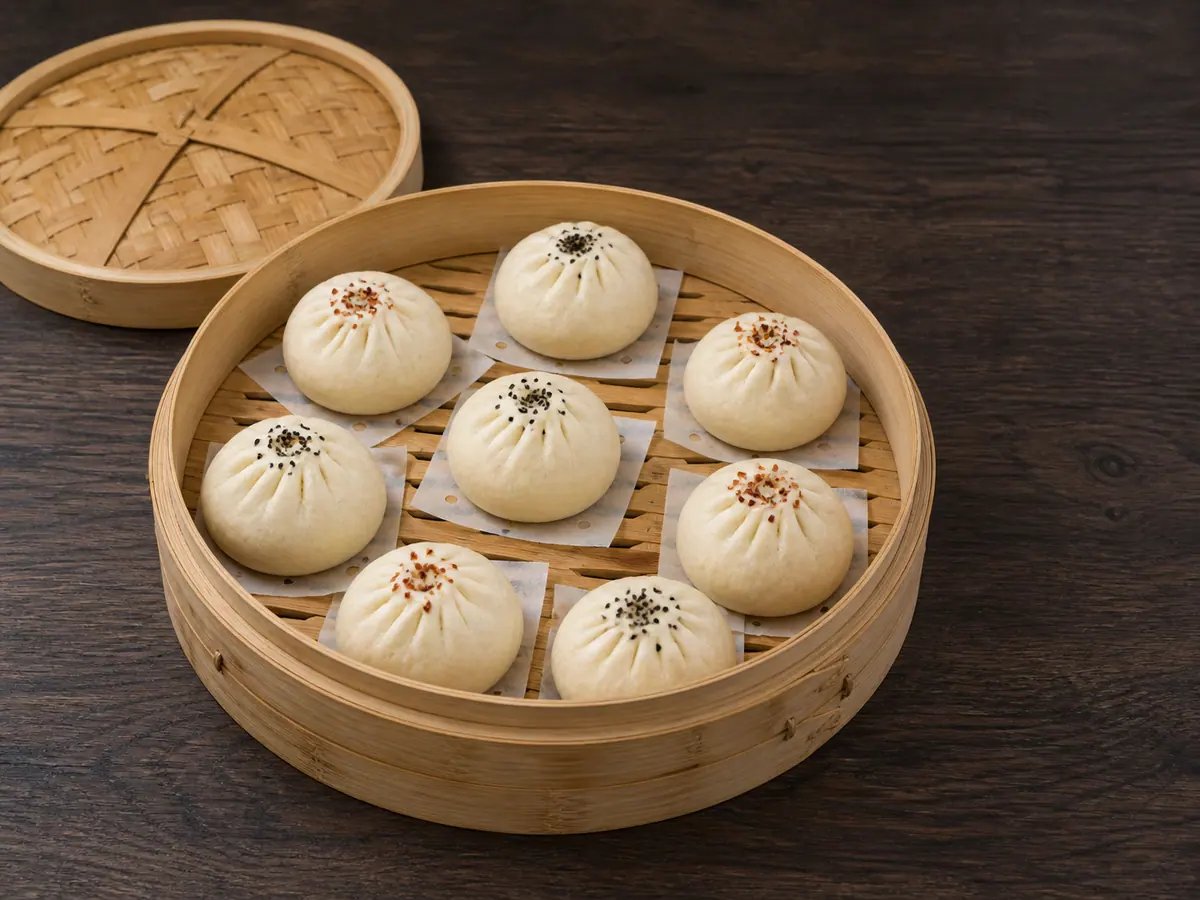
Arrange the buns in one or more steamer tiers with at least 4 cm (1.5 in) between them so they can expand without touching. Cover and let them proof for 20 to 30 minutes, starting the check at 20 minutes. They are ready when they look slightly puffy, feel lighter, and spring back slowly after a very gentle touch.
20:00Mix the two dipping routes
For the dark ginger route, stir 30 ml of Chinese black vinegar, 7.5 ml of reduced-sodium soy sauce for ginger sauce, 5 g of fresh ginger for sauce, and 10 g of scallions for sauce in a small serving dish. For the warm chili route, stir 15 ml of rice vinegar for chili sauce, 7.5 ml of reduced-sodium soy sauce for chili sauce, 5 ml of toasted sesame oil for chili sauce, 4 g of granulated sugar for chili sauce, and the reserved crushed red pepper in a second dish. Keep the sauces distinct so each bun marker points to a clear flavor choice.
Steam the bao
Bring about 5 cm (2 in) of water to a steady boil in a pot that supports the steamer without letting the water touch the buns. Set the covered steamer over the pot, reduce the heat to maintain steady medium steam, and cook for 14 minutes. Keep the lid closed for the full interval so the dough rises evenly and the pleats set without a sudden temperature drop.
14:00Let the bao settle and serve
Turn off the heat and leave the steamer covered for 5 minutes so the buns settle gradually instead of wrinkling. Open the lid away from your face to release the hot steam safely. Transfer the basket to the table and serve immediately, keeping the black-sesame buns near the ginger-black-vinegar sauce and the red-pepper buns near the chili-sesame sauce.
05:00


Smart Substitutions
- No fresh shiitake mushrooms? Use cremini or oyster mushrooms and cook until their released moisture has evaporated.
- No napa cabbage? Use finely cut green cabbage and give it a few extra minutes in the skillet to soften.
- No Chinese black vinegar? Use rice vinegar with a small splash of balsamic vinegar for similar dark tang and gentle sweetness.
- Prefer less heat? Use a smaller pinch of crushed red pepper in the warm sauce and keep the bun markers sparse.
Tips and Variations
- Weigh or closely match the dough portions so every bun proofs and steams at the same rate.
- Roll the wrapper edge thinner than the center; thick edges create a dense knot where the pleats meet.
- Keep the steamer at steady medium steam rather than an aggressive boil, which can splash water onto the dough.
What Went Wrong?
- Bao wrinkle or collapse The lid may have opened too quickly. Keep the steamer closed for the full 5-minute settling period next time.
- Filling leaks through the pleats Cool the filling completely, keep wrapper edges clean, and pinch the crown until the seam feels firmly sealed.
- Pleats will not stick Brush away excess flour from the wrapper edge and touch it with the smallest amount of water before pinching.
- Dough barely rises Move it to a warmer draft-free spot. If there is still no visible change after 75 minutes, the yeast may be inactive.
Nutrition Estimate
- Fiber: 6 g per serving
- Sodium: 770 mg per serving
Nutrition disclaimer:This recipe is provided for general cooking information only. Nutrition values are estimates and may vary by ingredients, brands, preparation methods, and serving sizes. Check ingredient labels and follow appropriate food-safety practices. This content is not medical, dietary, allergy, or professional food-safety advice.
FAQ
Found an error or have a suggestion?
Help us improve this recipe. Send us your feedback and include the recipe name so we can take a look.